Thursday, October 14, 2010

Birthday Macarons

Pink Macarons with Chocolate Ganache

I made more macarons for Melissa's birthday last week. This time I made plain cookies, colored pink, and again filled them with chocolate ganache. They are pink because I was originally going to fill them with strawberry buttercream but it didn't turn out =( Luckily, I think the macarons taste pretty good with chocolate filling. At Berkeley Bowl I found almond meal - already ground almonds, which was lot finer than my mini food processor can get the almonds, resulting in a better texture. I used a different recipe this time and I think I like the results better. Also, I used silpats this time (it helped a lot!) plus I baked them slightly longer, which I think helped the cookies come off the baking sheets more easily.

I found some boxes at a baking supply store and bought a few different ones to see which would work. I think they look really cute in the box, although this isn't a very good picture of them. I added a bow before I gave them to Mel.

Here is the recipe:

Ingredients:
225g powdered sugar
125g almond meal/flour
25g sugar
100g egg whites (about 4), aged
red food coloring (7-8 drops)
chocolate ganache to fill cookies
Directions:
  1. DO AHEAD: Separate eggs and place egg whites in a container and cover with plastic wrap. Leave at room temperature for 12-24 hours. 
  2. COOKIES: Add a drop of food coloring at a time to the granulated sugar and whisk together until evenly colored (the sugar will be darker than the final macaron). Set aside and let dry (a few minutes).
  3. In the meantime, grind the almond meal and powdered sugar in a food processor until thoroughly mixed. 
  4. Whip egg whites until foamy, slowly add the granulated sugar and continue to whip until they reach soft peaks and are glossy. Don’t overbeat the whites (some recipes say to beat to stiff peaks but I think that it would be better to beat to soft-medium peaks).
  5. Carefully, fold the almond and powdered sugar mixture into the whites with a wide spatula. The mixture should remain shiny and flow easily. 
  6. Fill a pastry bag, fitted with a plain round tip (I think mine is about 3/4-in in diameter) with the batter and pipe small rounds baking sheets lined with silpats or parchment paper. Let the macarons rest for 1 hour. 
  7. Preheat the oven to 315°F and bake for 13-15 minutes.
  8. Let cool completely on baking sheet/silpat then remove from the paper.
  9. Match up by size and fill with your choice of filling.

Thursday, September 30, 2010

Taking a Break from Baking - Green Chile Pork Stew

Green Chile Pork Stew with All the Sides

I saw that New Mexico green chiles were going to be coming to Berkeley Bowl as a special. Apparently, New Mexico is famous for these green chiles and it is hard to find them outside of New Mexico except for this time a year when some stores have them shipped in. I decided that I wanted to make something with these chiles even though I had never used them before. After doing some research I decided on Green Chile Pork Stew. I found that there are few variations including New Mexico as well as Mexican versions. I chose the New Mexican style because they were New Mexico chiles. The main difference I found in the recipes was the inclusion of tomatillos in most Mexican variations of green chile stew/chile verde.

Here is the recipe I came up with. I combined a couple of recipes' ingredients and procedures and this was the result:

New Mexico Green Chile Pork Stew

Ingredients:
18 New Mexico green chile peppers (I used 8 Anaheim, 5 Big Jim, and 5 Sandia peppers) 
3 jalapenos 
2 tbs vegetable oil 
2 1/2 lbs boneless pork shoulder or butt, cut into 1 inch cubes 
salt 
1 medium onion, chopped 
5 cloves garlic 
1 tbs minced, seeded jalapeno 
1 tsp oregano 
1 1/2 tsp salt 
1 tsp ground cumin 
2 tbs all-purpose flour 
3 cups low sodium chicken stock 
Directions: 
  1. Roast the peppers by placing them on a baking sheet and putting them under the broiler. Turn them frequently to get an even char all over the peppers. Alternately, roast on an open gas flame, turning them frequently with tongs until all sides are charred black, about 7 to 10 minutes (you can also roast peppers on an outside grill).
  2. Place the blackened peppers in a large bowl or plastic bag (s), and let rest until cool enough to handle, about 15 minutes. This will loosen the skins.
  3. Peel the skin off the peppers, and remove most of the seeds and the stems. Chop the peppers and set aside.
  4. In a dutch oven or large pot, heat the oil over medium-high heat.
  5. Lightly season the cubes of pork with salt and, in batches, add them to the pot, cooking until browned, about 8-10 minutes. Once browned, remove pork from the pot and set aside. If there is a lot of fat left in the pot, pour off excess and leave about1/4 cup.
  6. Lower the heat slightly, and add the onions, garlic and jalapenos to the pot and cook, stirring, until tender, about 3 minutes.
  7. Add the oregano, salt, and cumin, and cook, stirring, for 1 minute.
  8. Add the flour and cook, stirring, without allowing to color, for 2 minutes.
  9. Add the reserved, chopped peppers, and stir well to combine. Add the chicken stock, stir well, and bring to a boil. Lower the heat to medium-low and simmer, stirring occasionally, for 45 to 60 minutes or until the pork is tender.
*We made cilantro-lime rice to eat with the Green Chile Pork Stew. Cook white rice as directed and mix in handful of chopped cilantro, juice of 1-2 limes and salt to taste.

Store bought tortillas, homemade guacamole and canned refried beans rounded out the meal.


Wednesday, September 29, 2010

Nothing Beats Homemade - Mint Milanos

Homemade Mint Milanos

I love Pepperidge Farms Mint Milanos. I used to buy them whenever I saw them on sale at the grocery store, but haven't bought them for awhile now. I saw this recipe and I knew that I wanted to make them. The original recipe is for orange-chocolate filled Milanos so I substituted peppermint extract in the filling. 

It was difficult to get the correct size of the cookies. The recipe said to make them 1 inch long and that resulted in very small, bite-size cookies....not exactly what I was looking for.  When Ryan and I were making them we experimented with different lengths and widths. If you are going to make these I would make them about 2 inches long. They spread out, but I would try to get the cookies to be about 1/2 - 3/4 inch wide before baking. Next time I will try using a bigger piping tip. Lastly, because we made them larger than the original recipe 10 minutes was not long enough and the cookies came out too soft and pliable. Next time I will make sure they get a darker golden brown.

Here is the recipe with my changes:

Homemade Mint Milanos
adapted from Gale Gand's Milan Cookies

Ingredients:
12 tbs (1 1/2 sticks) butter, softened
2 1/2 cups powdered sugar
7/8 cup egg whites (from about 6 eggs)
2 tbs vanilla extract
1 1/2 cups flour
Cookie filling, recipe follows
Directions:
  1. Preheat oven to 350 degrees. Place silpats on baking sheets and set aside (I tried one baking sheet with parchment paper and my cookies came out very mishapen).
  2. Using a stand mixer with paddle attachment or hand mixer fitted to cream the butter. Add powdered sugar and mix until combined and fluffy.
  3. Gradually add the egg whites and mix in the vanilla extract.
  4. Slowly add the flour and mix until just incorporated. 
  5. Fill a piping bag with a small (1/4-inch) plain tip, pipe 2 inch sections of batter onto a parchment-lined sheet pan, spacing them 2 inches apart as they spread. Bake for 10-14 minutes or until golden brown around the edges. Let cool on the pan.
  6. When cookies are cool, match cookies up by size. Spread filling on one cookie and sandwich together with the other. Repeat with the rest of the cookies.
Cookie Filling:
1/2 cup heavy cream
8 ounces semisweet chocolate chips
1 tsp peppermint extract
Directions: 
  1. Pour heavy cream into a small saucepan and heat, but do not boil.
  2. Pour hot cream over chocolate in a bowl. Let sit for a couple minutes.
  3. Whisk to melt chocolate, add peppermint extract and blend well. Set aside to cool (put in the fridge to speed this up).

Monday, September 27, 2010

Just About Perfect!

Chocolate Chip Cookies

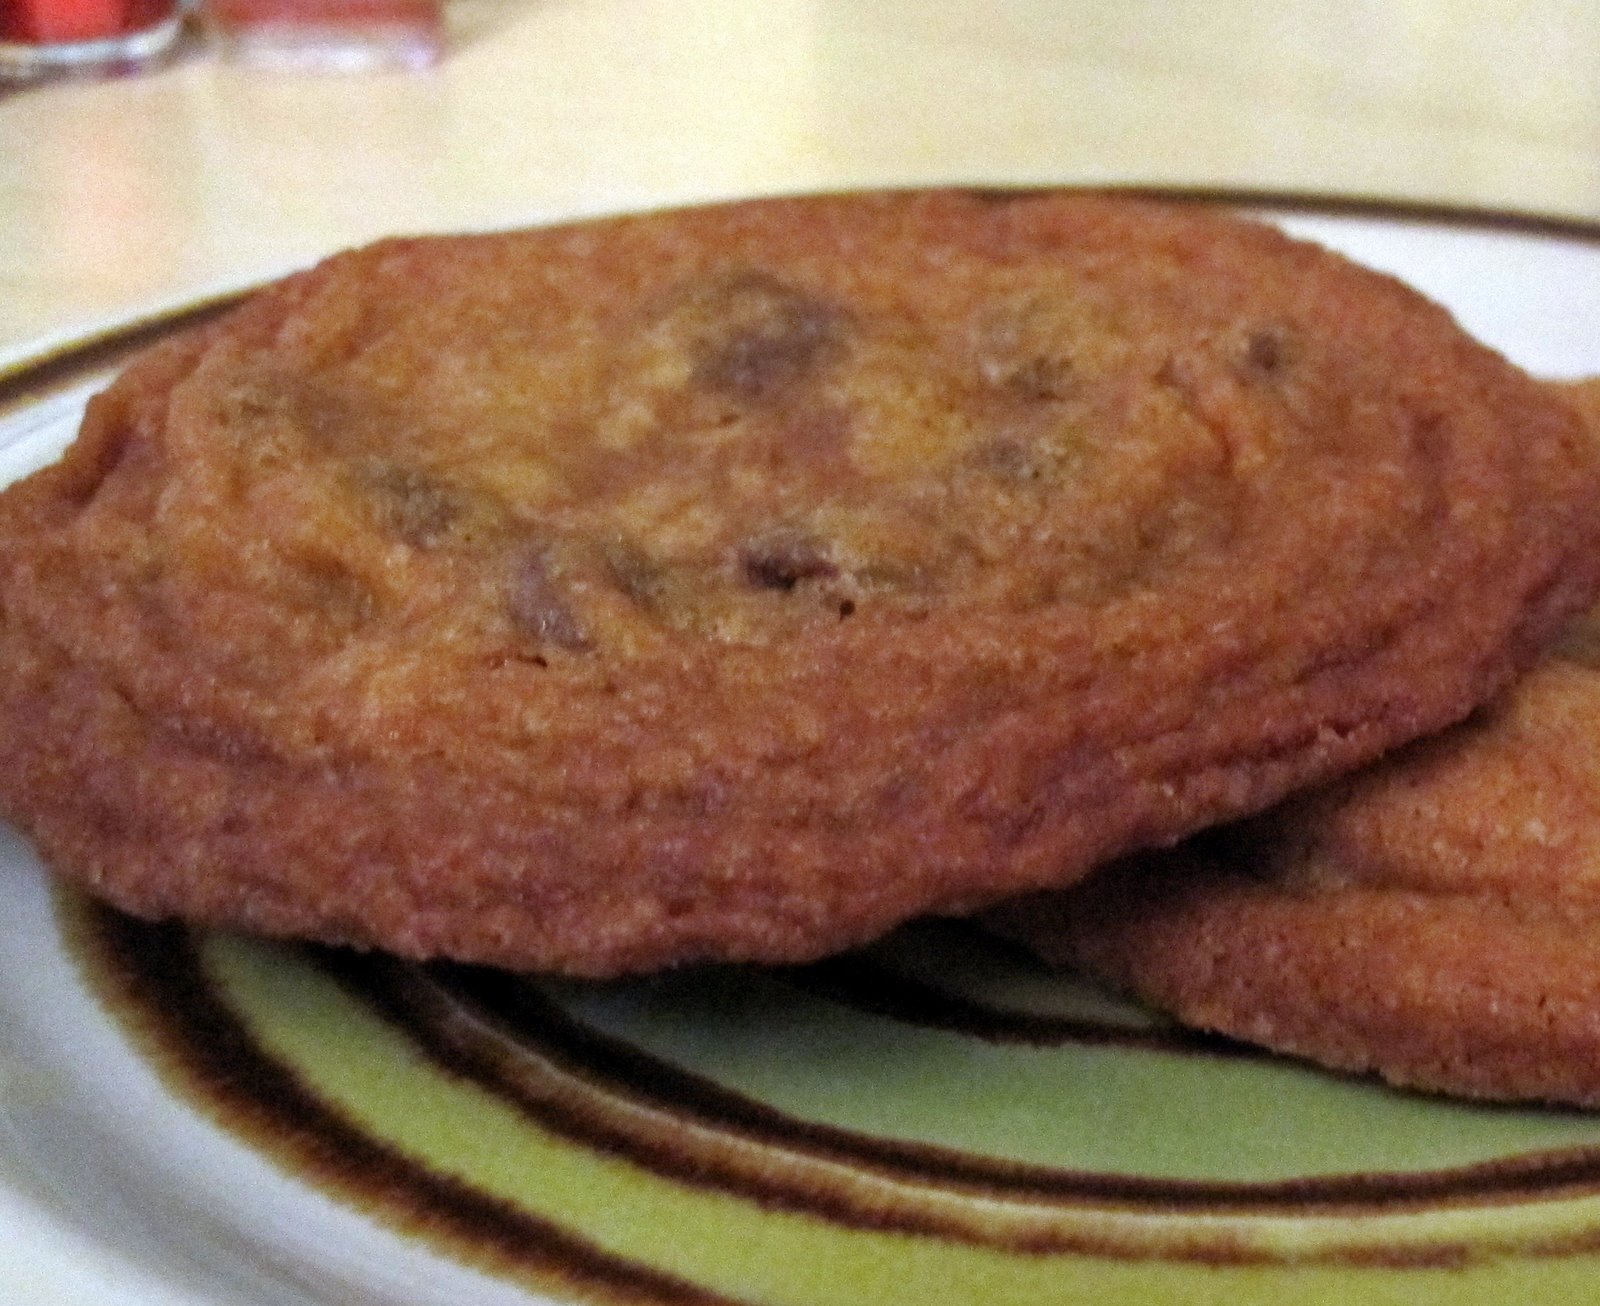
I think everyone has their favorite type of chocolate chip cookie - thick and chewy, thin and crispy and everything in between. I've been searching for my perfect chocolate chip cookie recipe - super thin, crispy around the edges and chewy in the middle. I had made cookies that fit this description before, but I couldn't find the recipe I used. So my previous post about chocolate chip cookies was not the right recipe so I continued to search. This recipe looked like it could be it...and IT WAS! I had to tweak it slightly because the first few sheets I baked came out very thin and inedible. So I added a little bit of flour and put the dough in the fridge to harden a bit. I also added a few more chocolate chips because it made a giant batch of cookies and I didn't think there was enough in the original recipe.

Next time I use this recipe I think I will either reduce the butter (there is A LOT) or add some flour to the dough. Hopefully, this will result in the perfect chocolate chip cookie. The original recipe comes from Martha Stewart's daughter Alexis. Here's the recipe I would use next time:

Perfect Chocolate Chip Cookies

Ingredients:
3 1/2 cups flour
1 1/2 tsp salt
2 tsp baking soda
3 1/2 sticks unsalted butter, room temp
3 cups packed brown sugar
1 cup sugar
4 large eggs
2 tsp pure vanilla extract
1 3/4 cups semisweet chocolate chips

Directions:
  1. Preheat oven to 375 degrees. Line two baking sheets with parchment paper, and set aside. 
  2. In a large bowl, sift together the flour, salt, and baking soda; set aside. In the bowl of a stand mixer (or handheld mixer) use the paddle attachment to beat the butter on medium speed until smooth. 
  3. Add both sugars, and beat until combined and fluffy. 
  4. Beat in the eggs one at a time and add vanilla and mix until well blended.
  5. Slowly add flour mixture, and beat on low speed until combined. 
  6. Add the chocolate chips, and mixuntil combined.
  7. Drop 2 tablespoons of batter at a time onto baking sheets, about 2 inches apart. These cookies spread A LOT (I only put 6 cookies per sheet).
  8. Bake until golden brown, about 8 minutes, rotating halfway through. Remove the cookies and the parchment paper from the baking sheets, and let cool on a rack.
* If the first cookie sheet of cookies spreads to much mix in a few tablespoons of flour into the remaining dough. Adjust as necessary. I think that the butter temperature as well as outside temp changes the outcome of the cookies drastically. I think its necessary to adapt as needed.

Tuesday, September 21, 2010

Macarons vs. Macaroons

So I was researching macarons today and I learned something new =) The main reason people get "macaron" and "macaroon" confused is because they can be used to describe the same cookie. Macaron is the French spelling and macaroon is the English spelling of similar meringue almond cookies. Because the English spelling, macaroon, can also mean the coconut ball cookie, the French spelling, macaron, has been adopted by many. Apparently, macarons are a type of macaroons. But macaroons (the coconut cookie) are not macarons. So either macaron or macaroon is technically correct when describing the meringue almond cookies.

Still very confusing.